Assembling Functional Robot from Designed Roco Components and Electronics
William Shih Robot Compiler origami robots RoCo arduinoThis week I focused on fine tuning my RoCo component designs to fit with the electronics and assemble my first fully functional cut and fold robot. I wanted to make sure that my method for production would be feasible before I continued designing more components for robots with more functionalities.
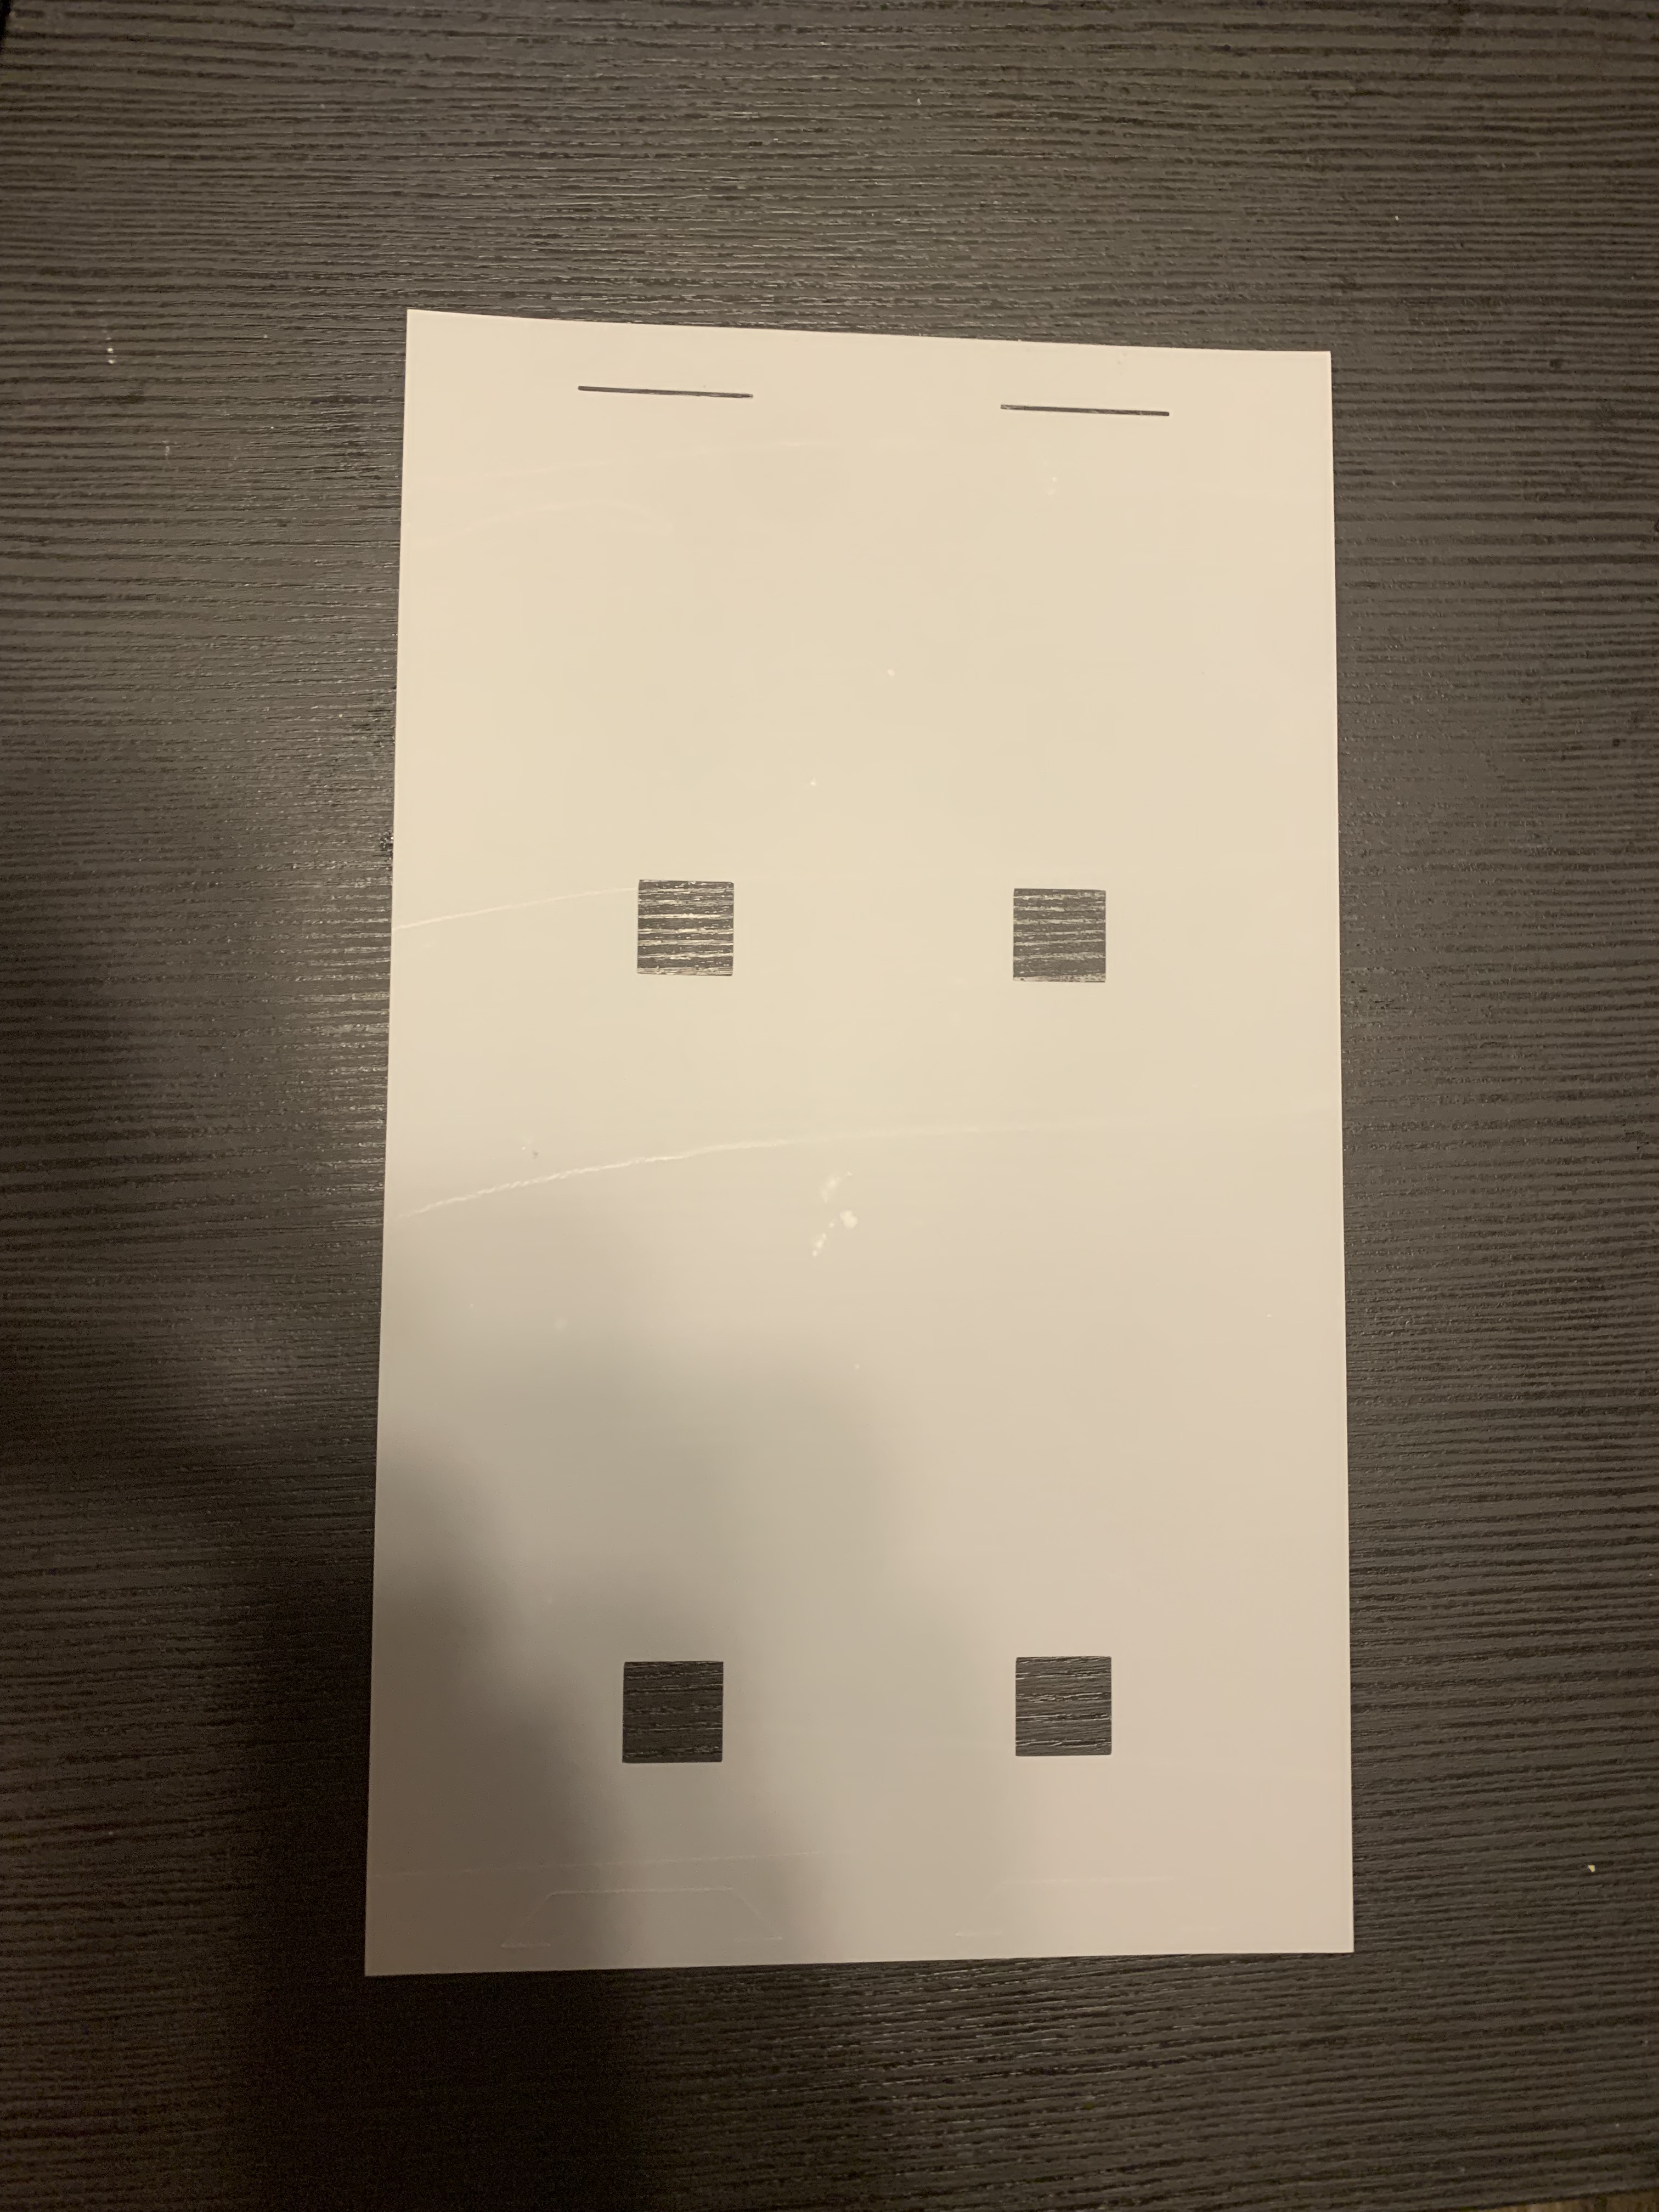
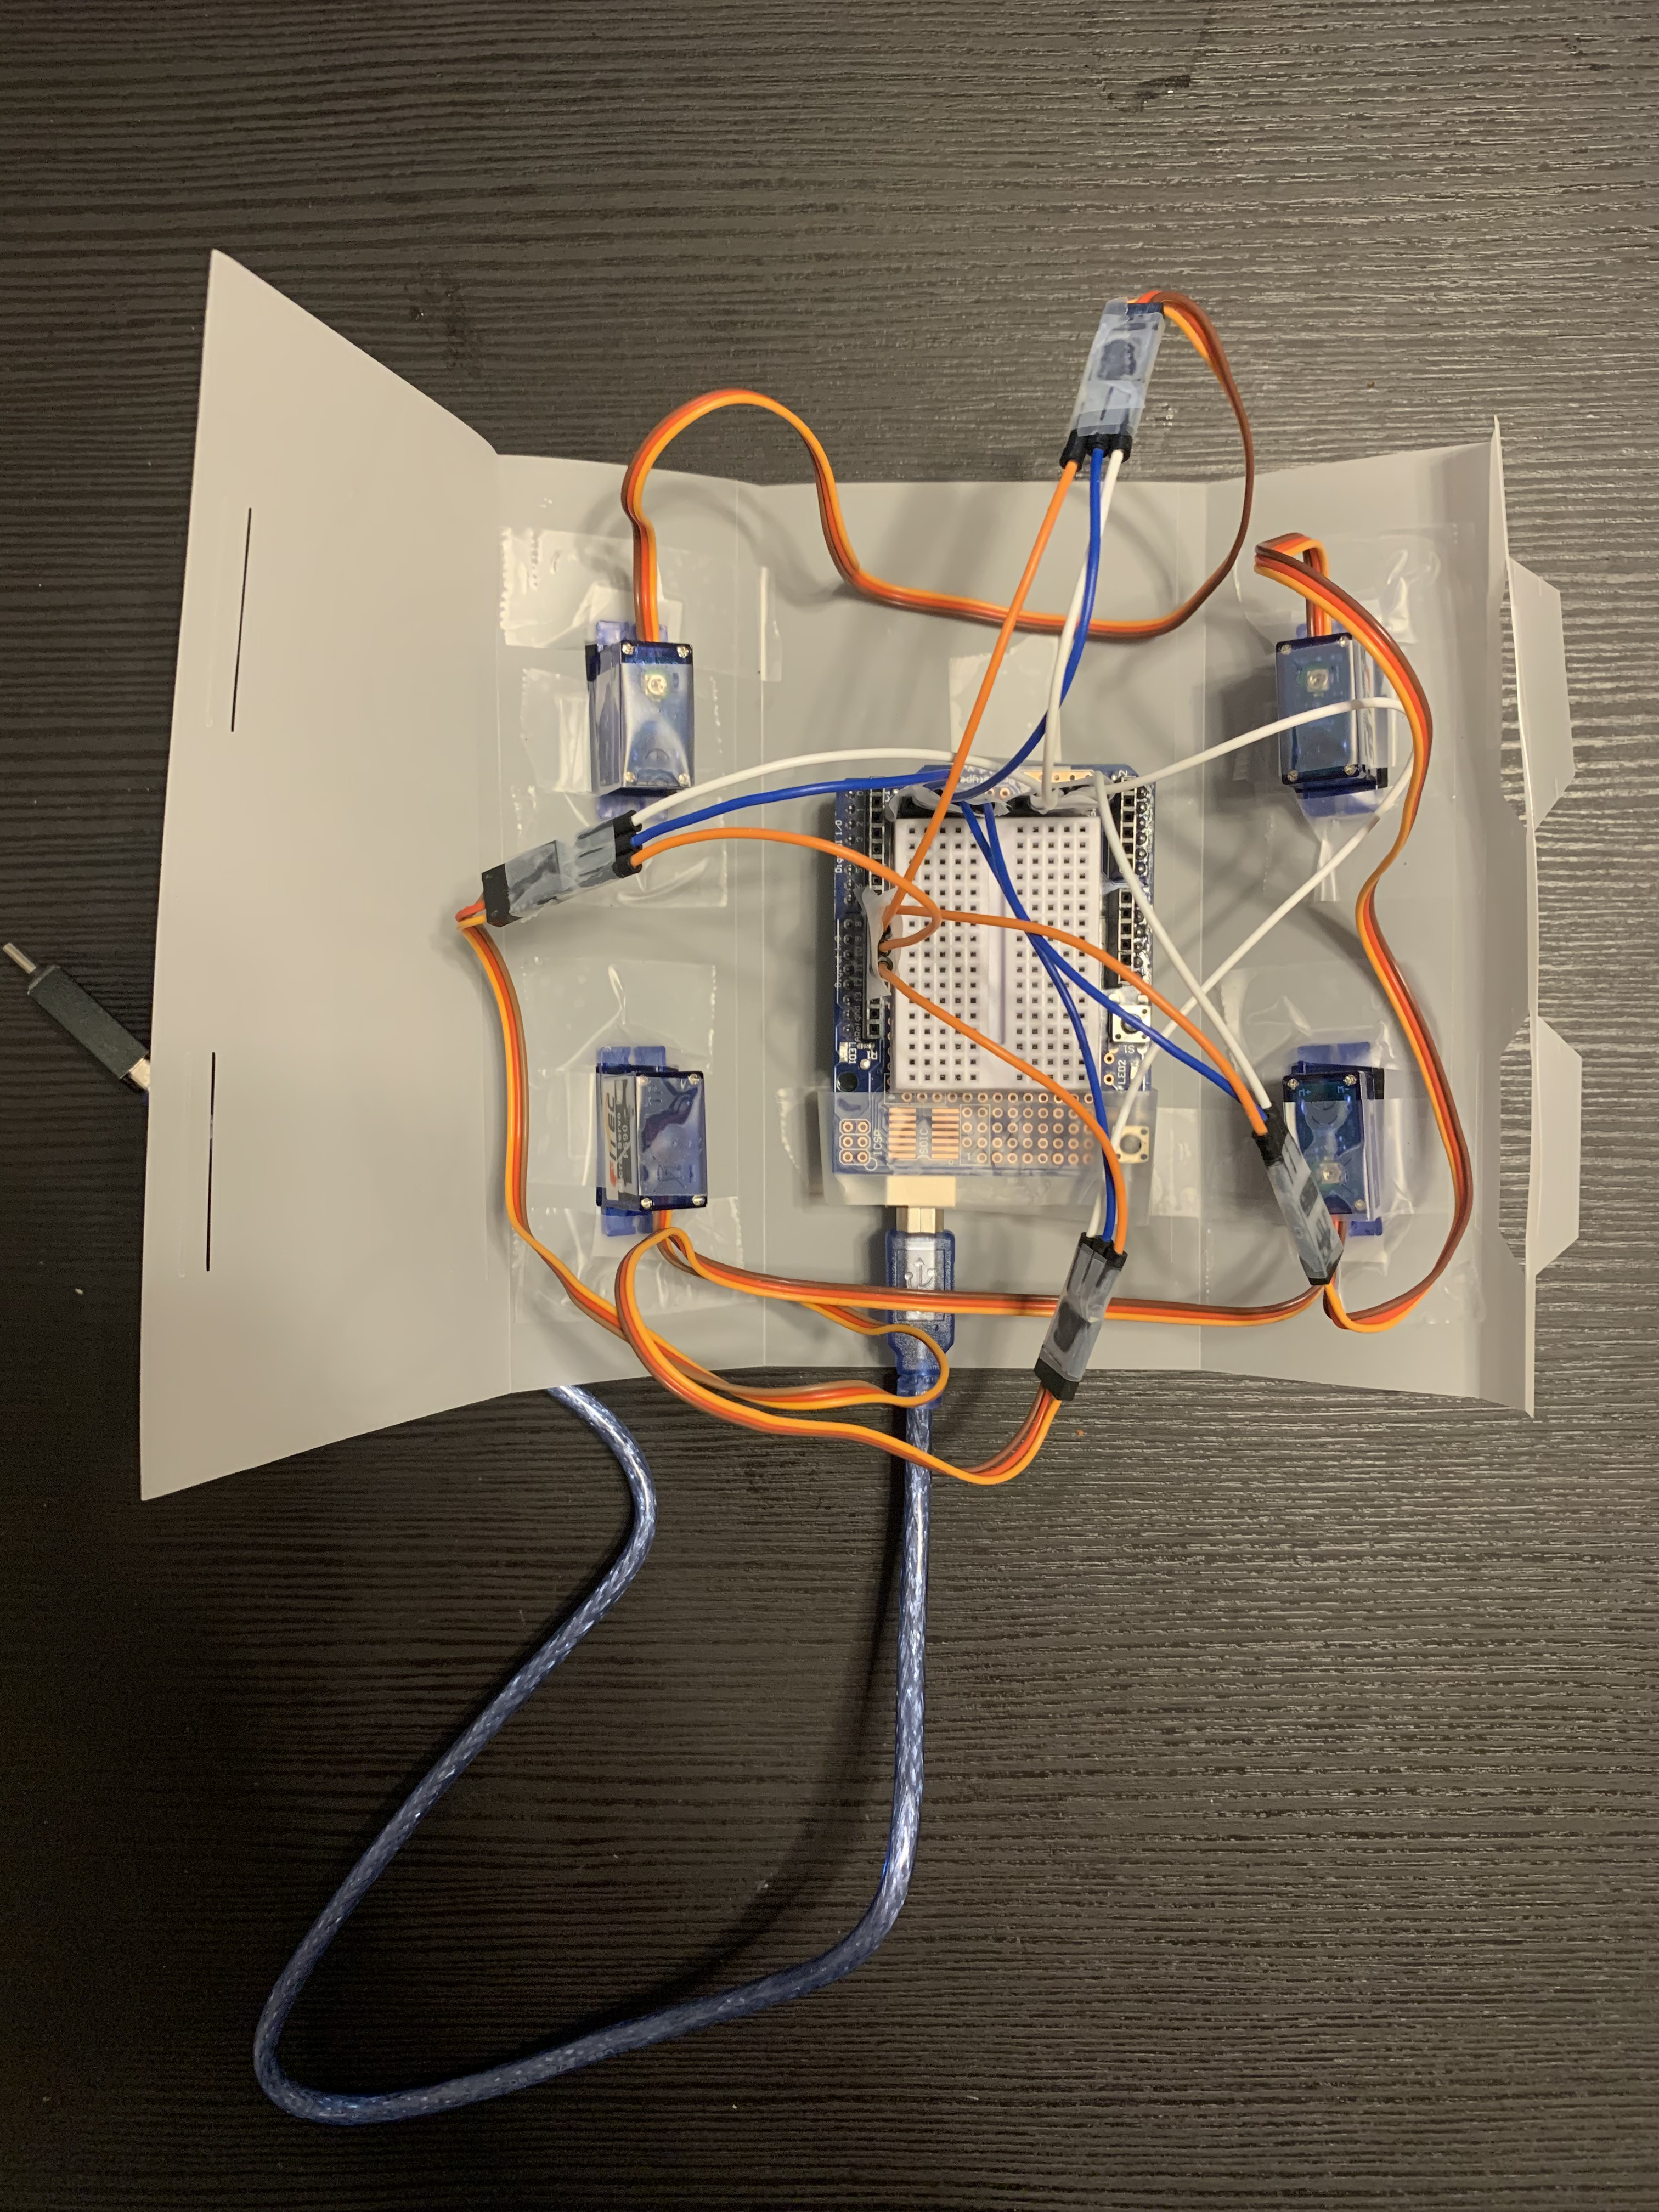
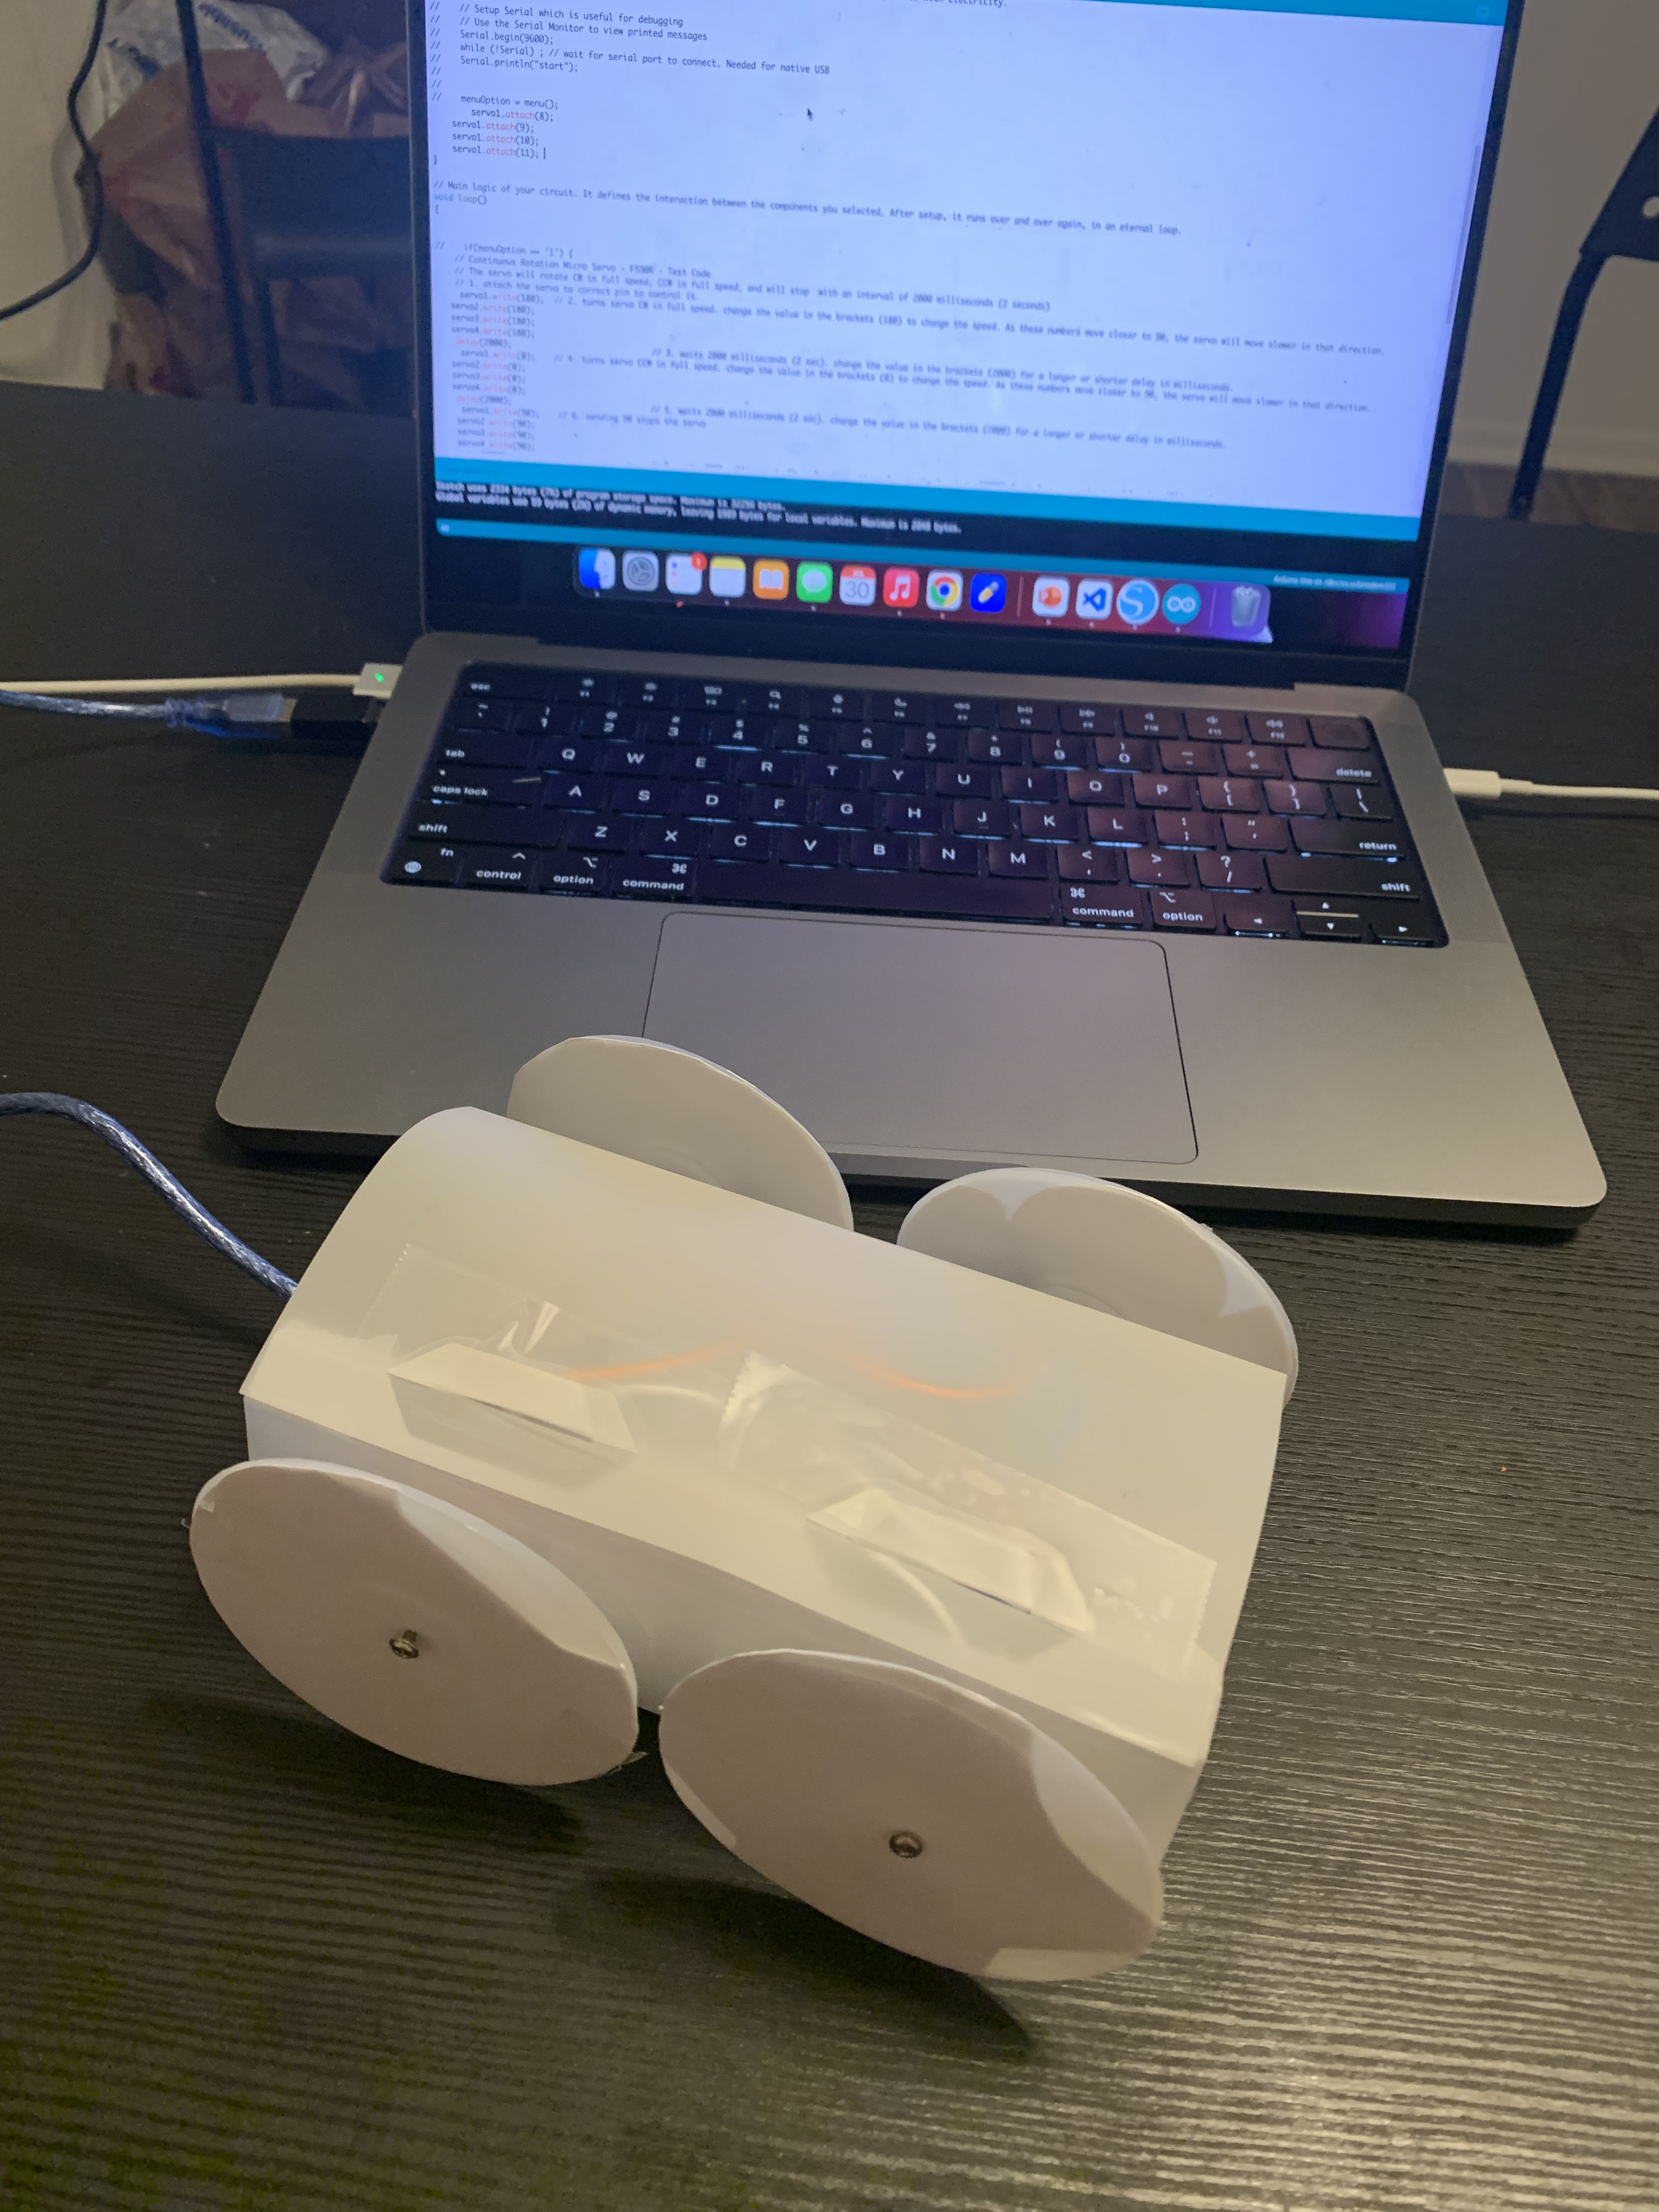
I began with the laser cutted components which was a simple body with wheels, then I attached the electronics with Scotch tape to the acrylic paper, and finally ran my Arduino code to make the robot move.


I had to use a lot of Scotch tape in this prototpye so I might use some designs to help minimize this. I could create a box to fit the servomotors in and also design some sort of container for the microcontroller as well. Although the robot was able to move, the weight distribution of the robot was not great as expected. the weight of the electronics was quite heavy for the simple thin sheets of material so the wheels would constantly bend in different directions as it moved across a surface. To solve this problem, I could laser cut thicker and sturdier materials such as wood and attach it for better stability. I could also try using the 3D decagon wheel I designed for better stability as well.
This week, I will continue to design more RoCo components and think about capabilities other than simply ground locomotion that I want my robots to have. I might start by using the legs I designed to see if I can create a walking movement.