After wrapping up testing the accuracy of NTP, this week I worked on creating new Optitrack Markers for the two new robots and landmarks we plan to add. Creating our own custom markers provides a cheaper, faster, and more flexible alternative to ordering genuine Optitrack markers.
3D Printed Markers
There were two main options I considered for the structure of the markers. The first thing I tried was to copy the existing Optitrack markers as closely as possible and apply some 3M retroreflective tape on the ball section.
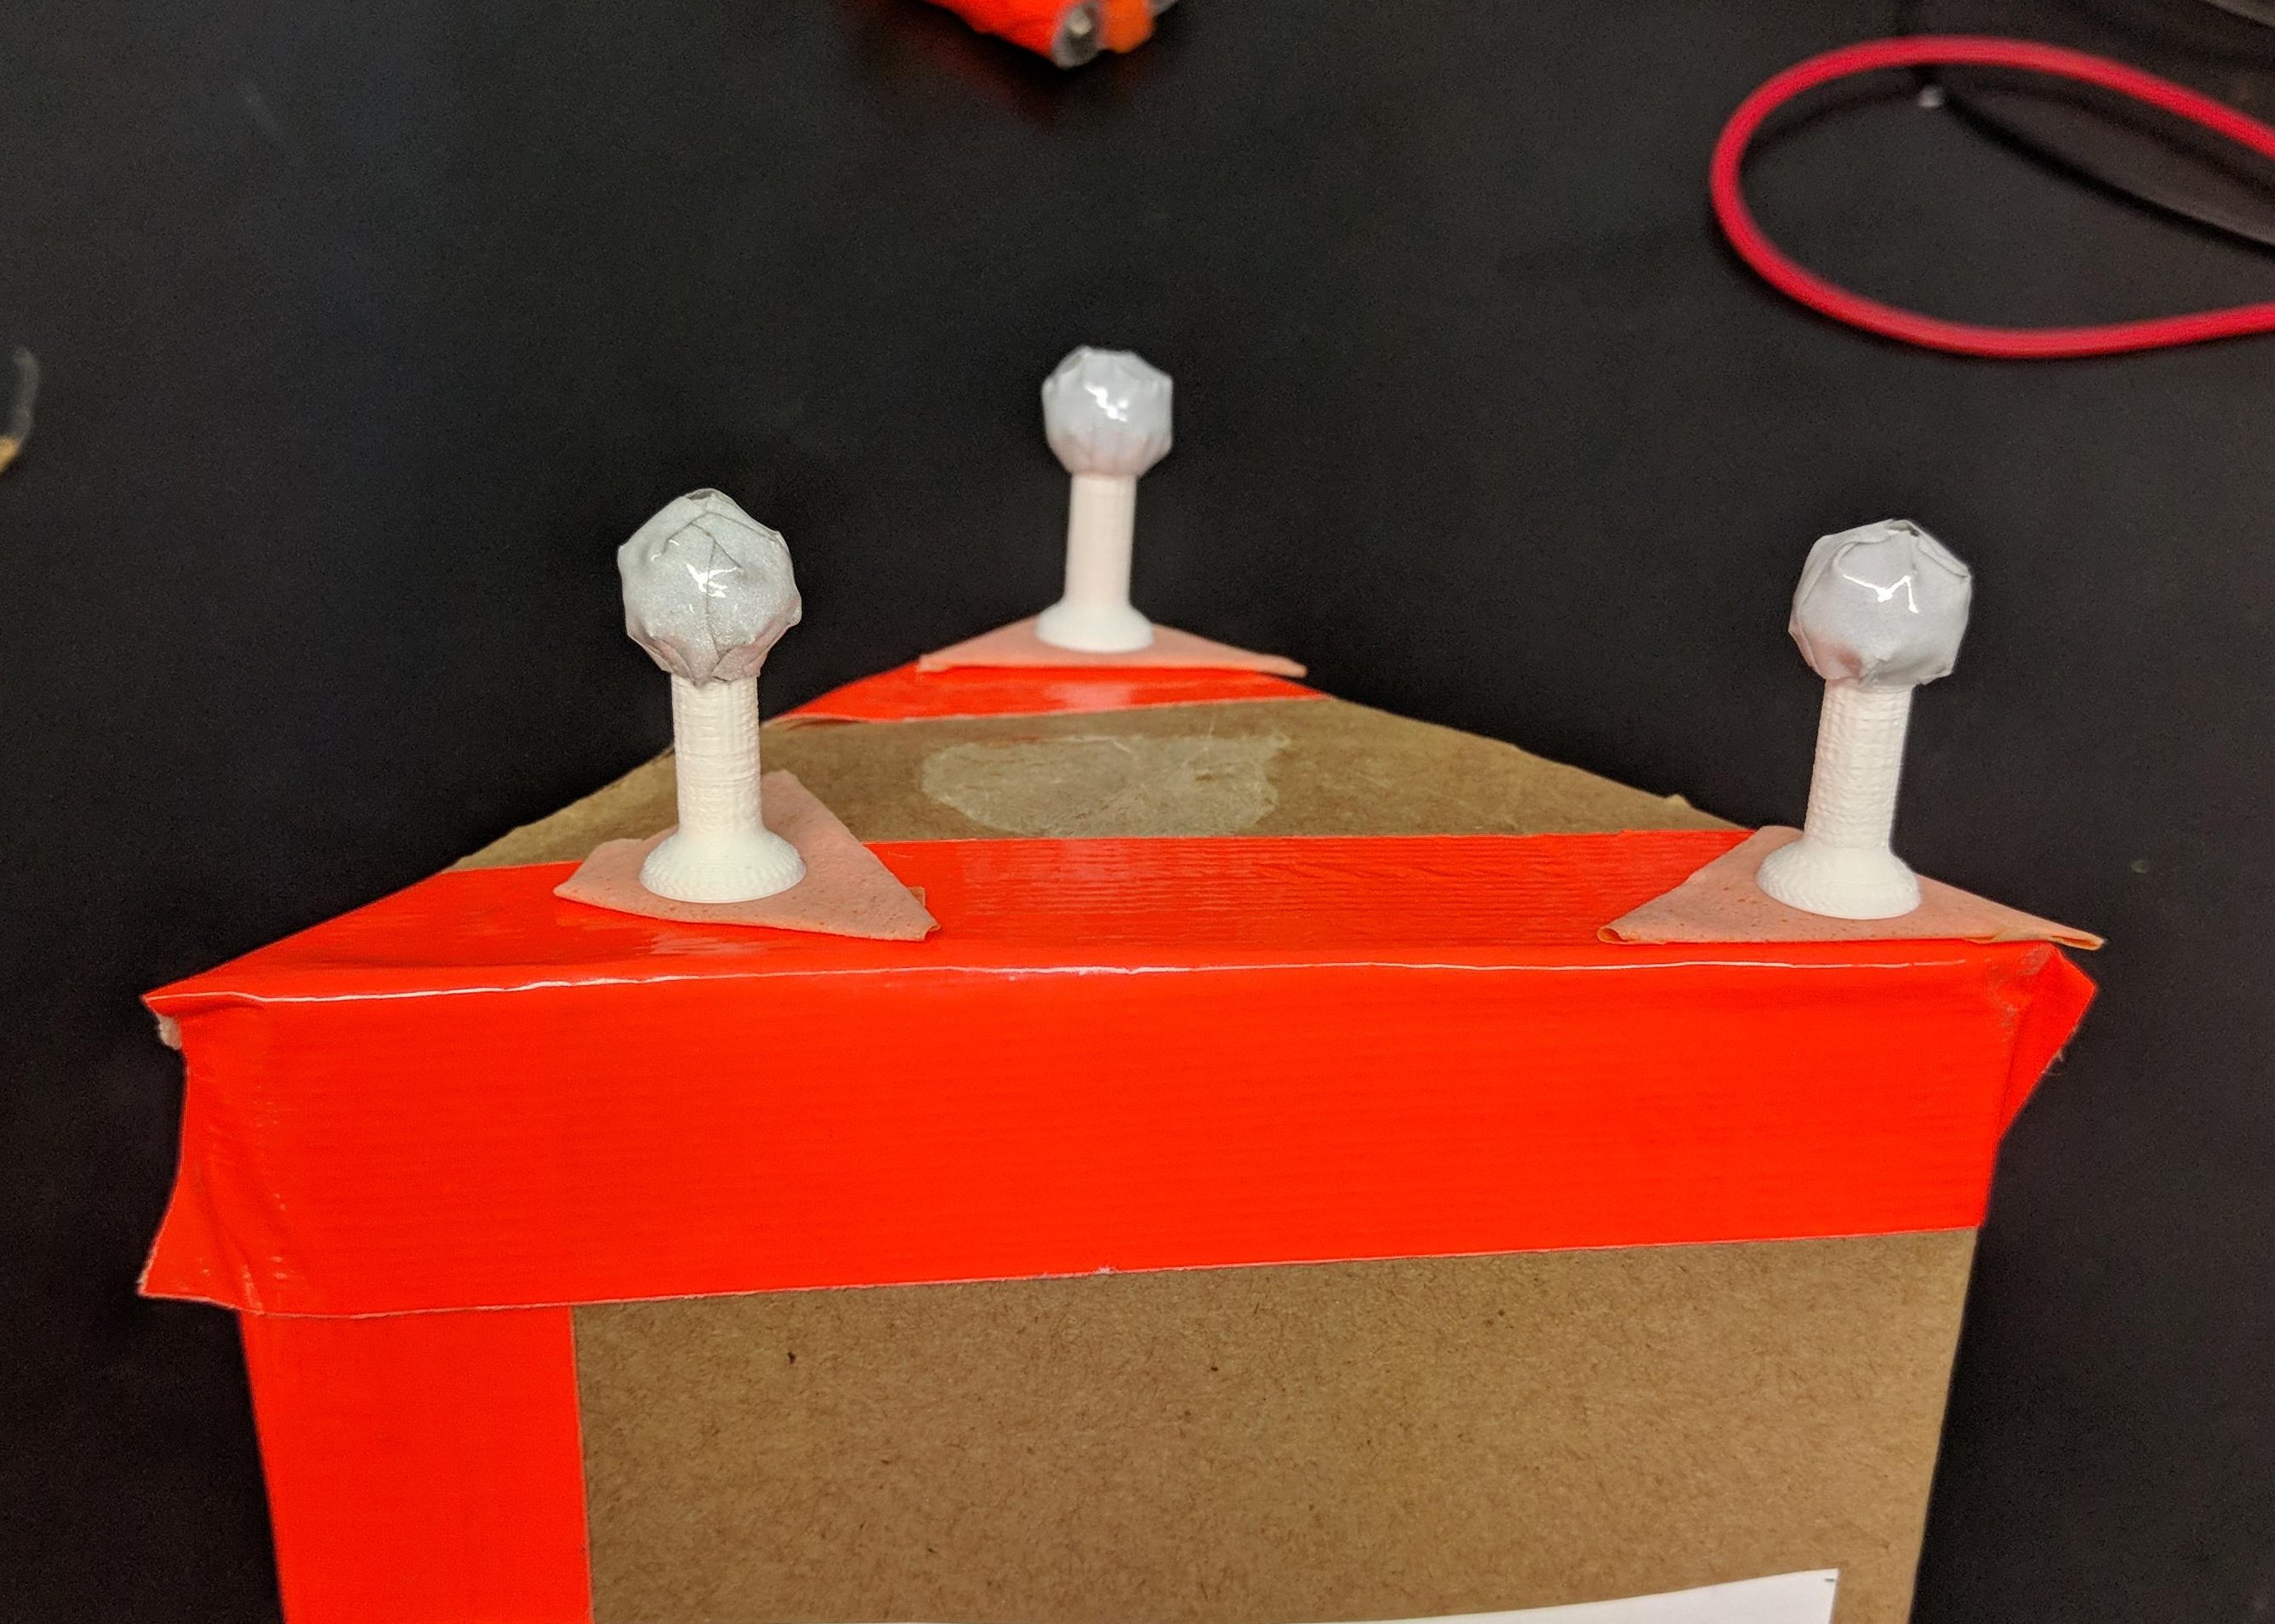
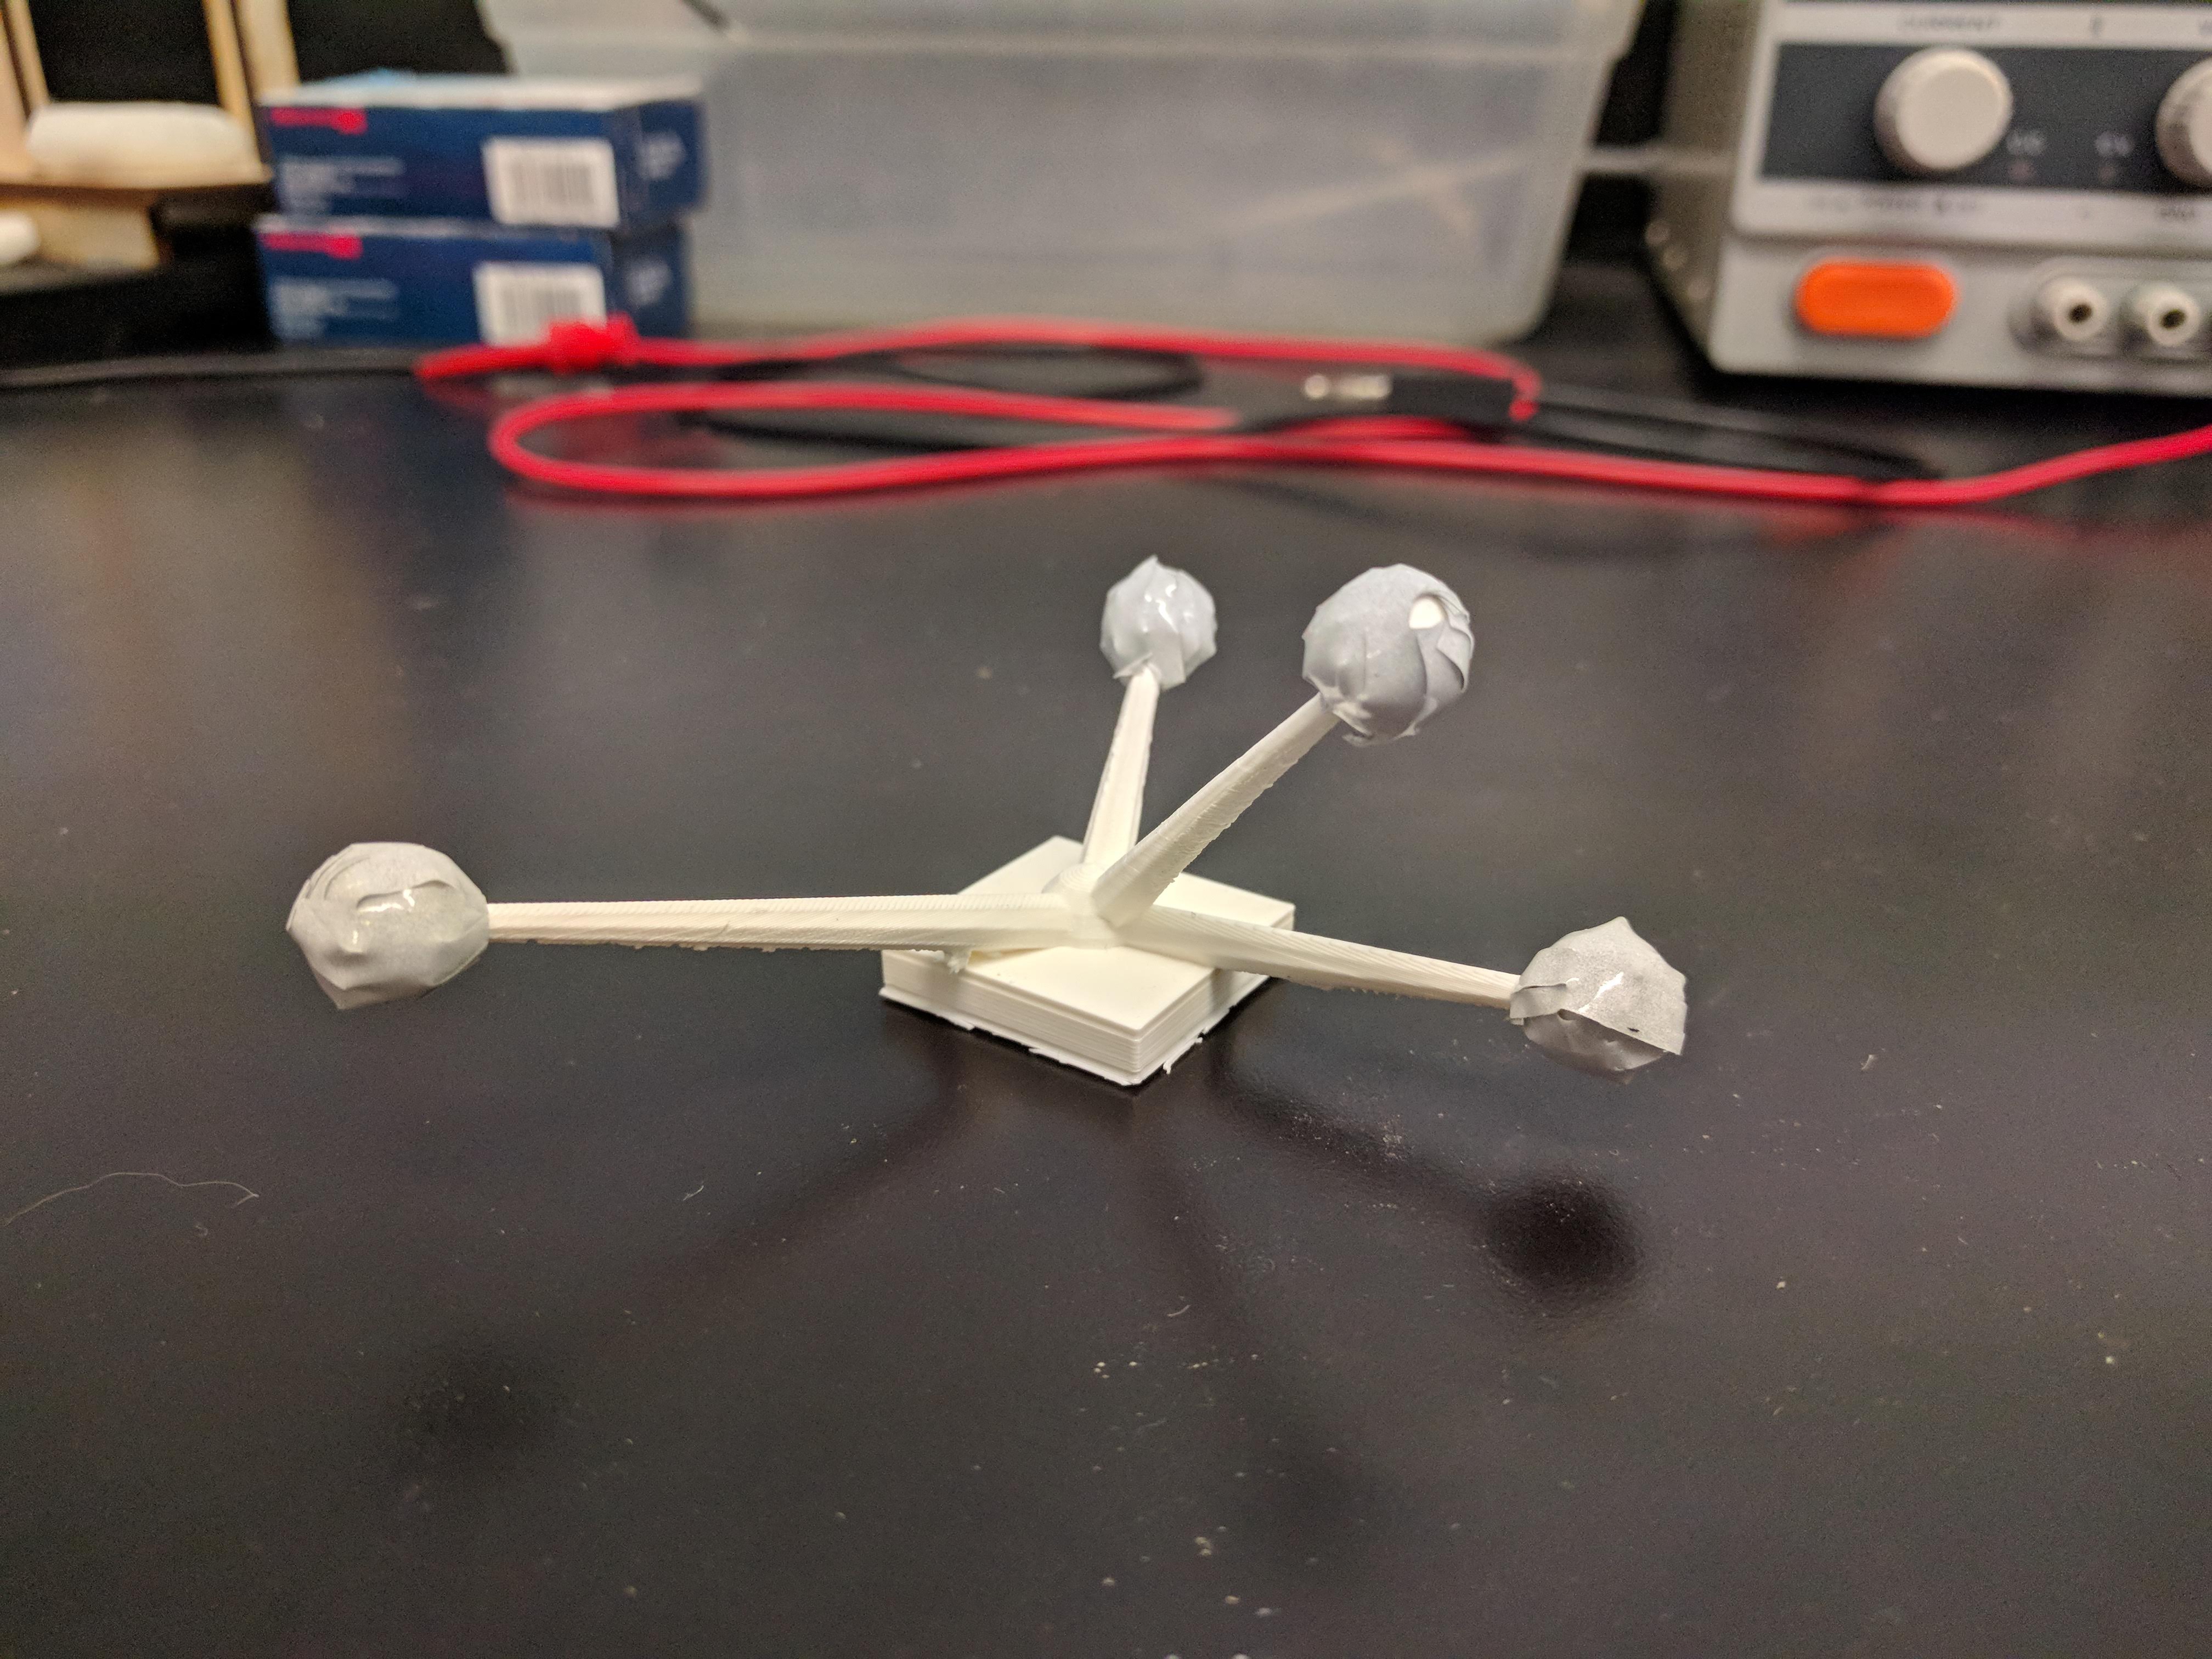
Since we were already 3D printing our markers, it would also be possible to print out a single part with multiple tracking points. In fact, there already is a solution: a parametric 3D model that randomizes a cluster of markers by Bruce Thomas. (The file does not check for intersections or spacing when randoming the marker positions. I may want to add these features in the future, but in the meantime, simply randomizing the values until a satisfactory model is generated is good enough). Having a single structure for all the markers ensures that the relative positions of the markers is fixed for optimal tracking. Additionally, these clusters are especially useful for our purposes since we need to have unique marker configurations to differentiate between each robot. The clusters allow for greater variation since positions are no longer constrained by the structure of the robot.
Applying Reflective Tape
According to the Optitrack documentation, the motion capture system filters out non circular reflections to reduce noise. This means that the custom markers we create should be as spherical as possible for optimal tracking. On the other hand, rounded shapes are more difficult to evenly cover in tape which can reduce the circularity of the final marker.
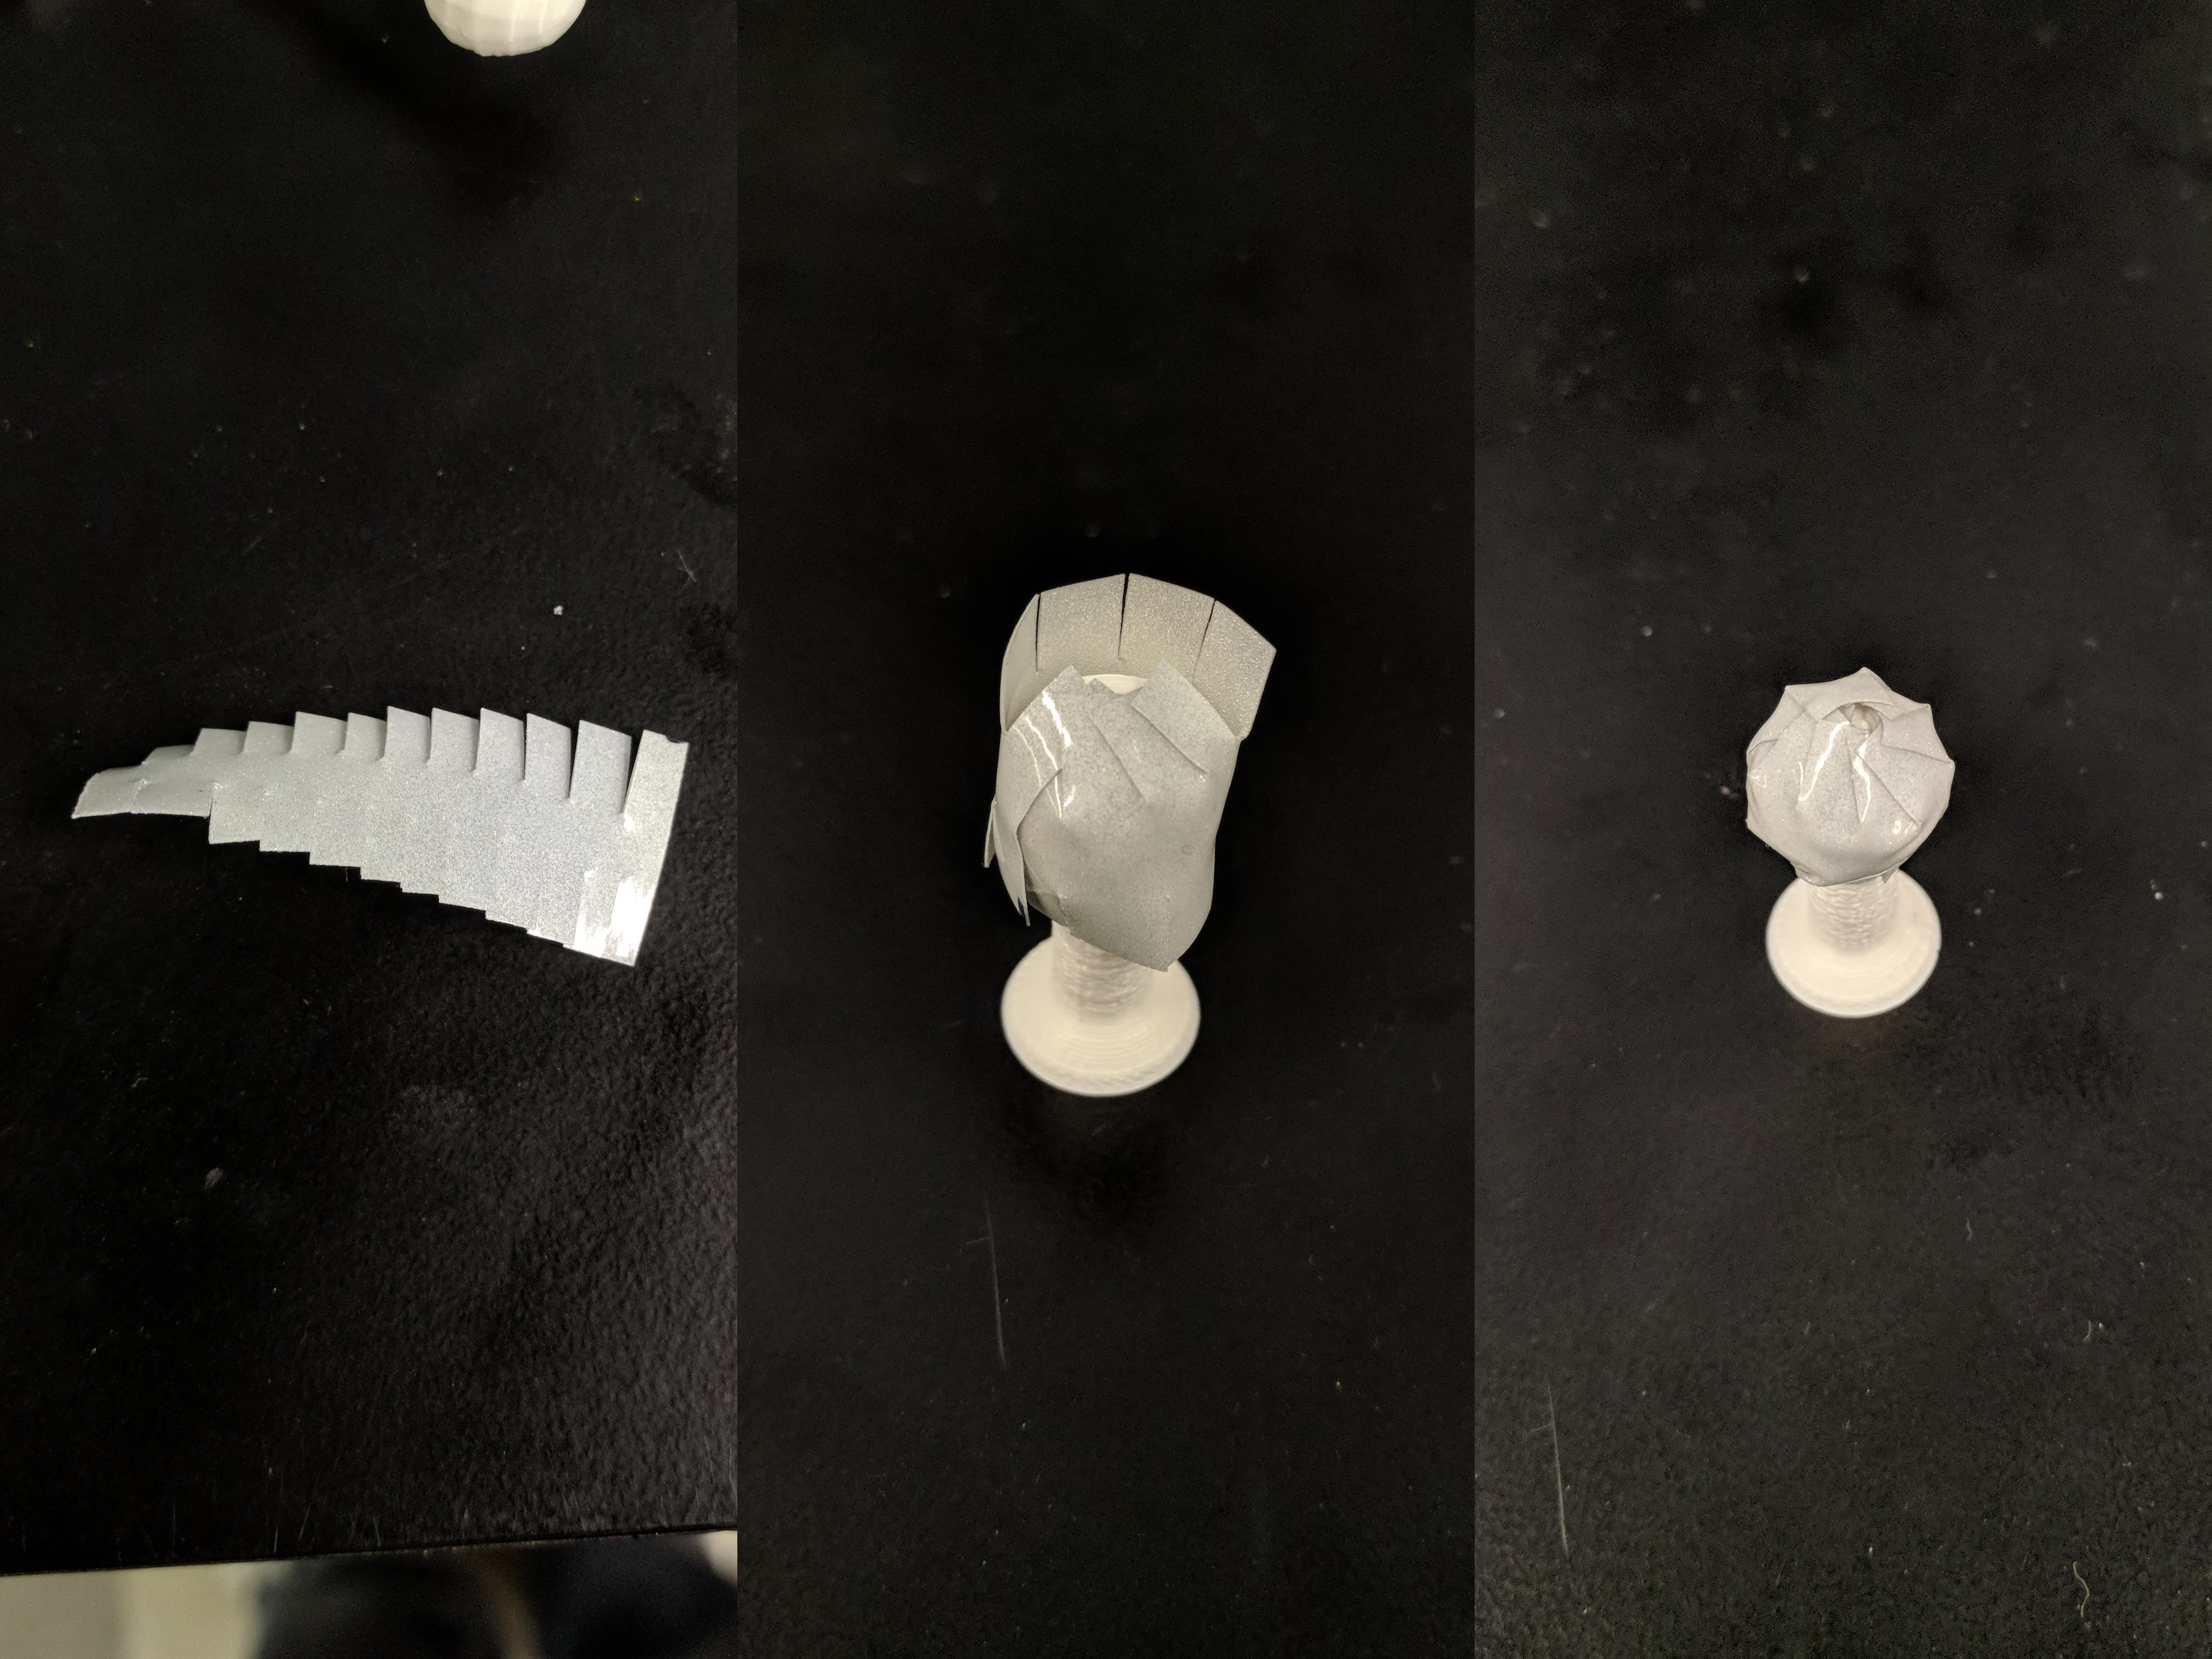
I tried several different ways of covering the markers with tape as evenly as possible:
Spherical Slices
Cutting the tape into wedge-shaped slices minimizes the amount of overlap. Using smaller slices also reduces the wrinkles created when applying the tape to the ball. I decided against using this method because of how tedious and time consuming it was to cut out the shapes necessary by hand.

Single piece of tape
Simply wrapping the ball in a piece of rectangular tape was very quick and easy to do, and reasonably covered the ball if I pressed the tape down firmly. However, tape was relatively stiff and the adhesive was weak so after some time, the tape began to detach from the ball and lose its round shape.

Single piece of tape with cuts
The best solution I found was to cover the tape was to take a single rectangular piece and cut slits part of the way on both sides. These cuts allowed the tape to overlap near the poles instead of bunching up. This was relatively quick and easy to do, and the tape did not peel off on its own.
Testing
Our Optitrack system was able to track both the individual markers and the cluster of markers. There were some issues with the marker clusters because the size of the spheres were set too small. I would recommend setting the diameter parameter to at least 14 mm if you are using a similar Optitrack setup (medium size room).
