As most people know, engineers and researchers often needs to fabricate prototypes to test out their design. However, what most people don’t know is that there are many different manufacturing methods that one can take to get the product they desire. This blog post is a beginner’s guide for people who wants to get into 3D printing.
In this blog post we will be going over the following topics about 3D printing: • Why 3D Printing? • Types of 3D Printing • How to Use a 3D Printer?
Why 3D Printing?
3D printing is what we call “Additive Manufacturing”. The reason why it is call additive manufacturing is because during the process of fabrication, the machine is building a 3D object by adding layer-upon-layer of material. This is completely different from what we see in a convention machine shop, which fabricate a 3D object by taking material away from the original part (Subtractive Manufacturing). So, if we can create the same 3D object using different method, why and when would we choose 3D printing over other manufacturing method? One of the biggest reason why 3D printing is becoming so popular is because of the following reasons:
-
Price
- Unlike most of the other manufacturing methods, 3D printing is relatively cheap. Even though a mid-range 3D printer would usually cost around \(300 -\)1,000, when compared to a milling machine, which ranges from \(3,000 -\)10,000, getting a 3D printer is definitely more affordable and accessible. Furthermore, there are also many budgets 3D printer (under $300) that can have really good print quality if the user put in the extra effort to refine the setup of the printer. One top of that the material used for 3D printing (plastic filament) are also a lot cheaper than milling (metal stock).
-
Time
- 3D printing is what we call “Rapid Prototyping” because it allows the user to produce complicated 3D model in a relatively short amount of time. For a user to be able to 3D print a object they just designed would greatly speed up the iterative process that the designer needs to take to finalize the final product.
-
Easy to use
- With a milling machine, the user would have to think about the different tools and operation method one needs to take to produce the final product, However, 3D printing allows the users to not have to worry about the complicated manufacturing operations one needs take to produce the final product; it just print!
Types of 3D Printing There are many different types of 3D printing: FDM, SLA, MJM, SLS. They one most people would be using is FDM and SLA. FDM (Fused Deposition Modeling) is basically a 3D printing process where the extruder head melt the filament and printed out the 3D object layer by layer.
Pros:
- Most economical
- Easy to use
- Wide variety of material availability
- Relatively fast print times
Cons:
- Poorest dimensional accuracy/surface finish
- Part deformation
- Low mechanical strength between layers
How to Use a 3D Printer?
Since the 3D printer (RoBo 3D R1+) we have in the LEMUR lab, I will be mainly going over the process of using a FDM.
3D Printing File Format
With the 3D CAD model we have, we will save the CAD model file as a .STL. STL: Standard Tessellation Language
- This file format only retains information about the surface geometry of a 3D object.
- Exporting process “tessellates” surface geometry with finite triangular elements
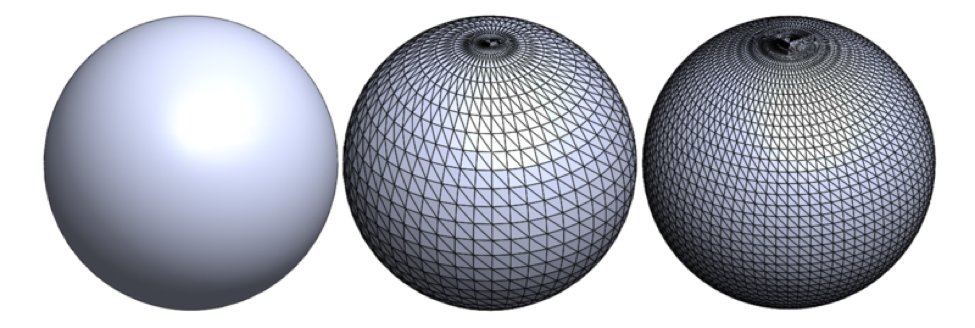
This picture is taken from: http://blog.gxsc.com/graphics_systems_solidnot/solidworks-2015/
3D Slicer Software
Once we have the .STL file of the 3D model we want to print will import the .STL file into a 3D slicer Software. These softwares can usually found on the official website of the 3D printer. The software for robo3D can be found in the following link: https://robo3d.com/software/ . These 3D slicer software: • Slices the input 3D model into a finite number of cross sections layer. • Generates shell, infill, raft, & support geometries for the 3D model based on the given input parameters. • Produces G-Code instruct the actions to be made by the printer.
Once we finalize the settings we want for the 3D model, we can 3D print the model!
Example
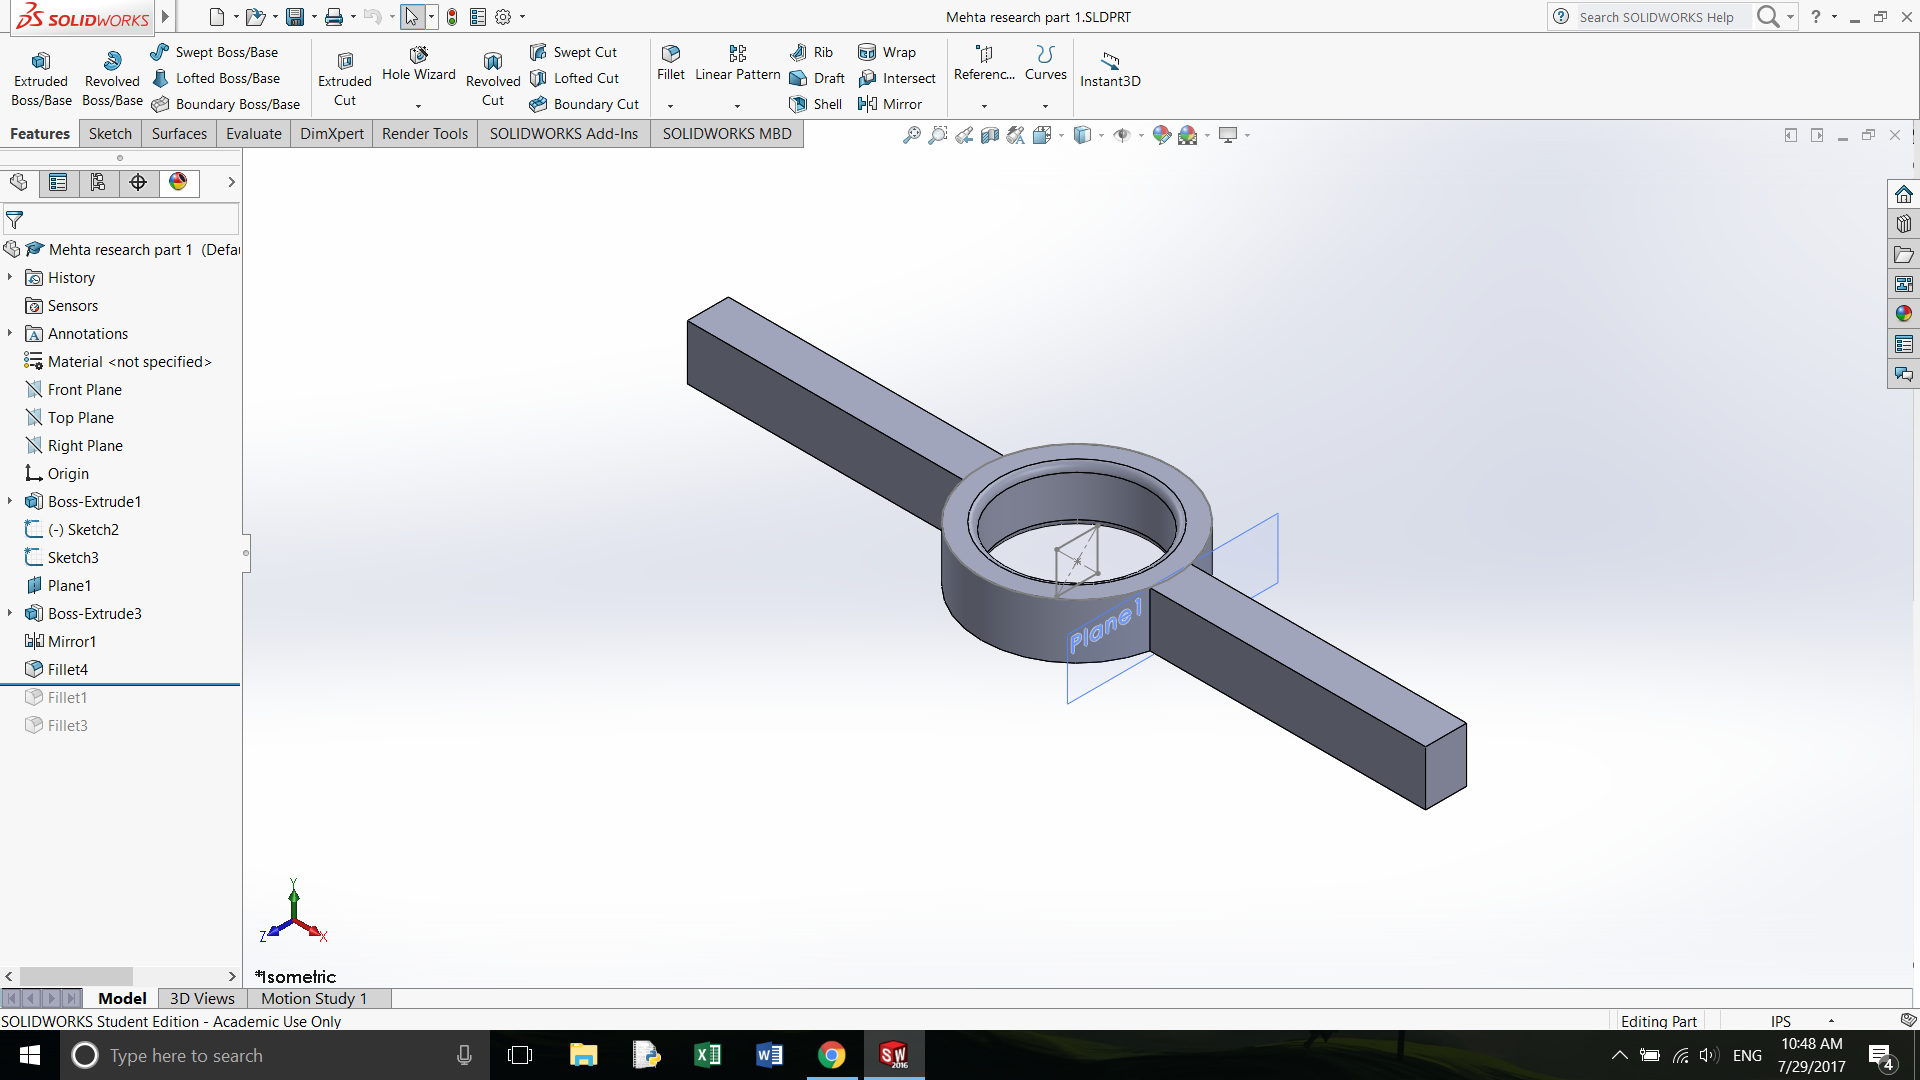
Step 1: Designing the 3D model in a CAD software.
 Step 2: Save the file as a .STL file.
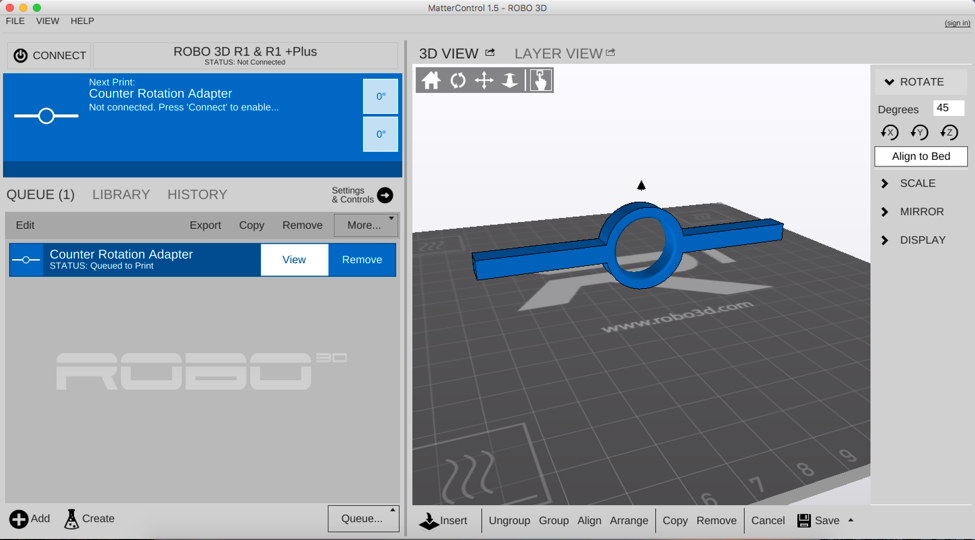
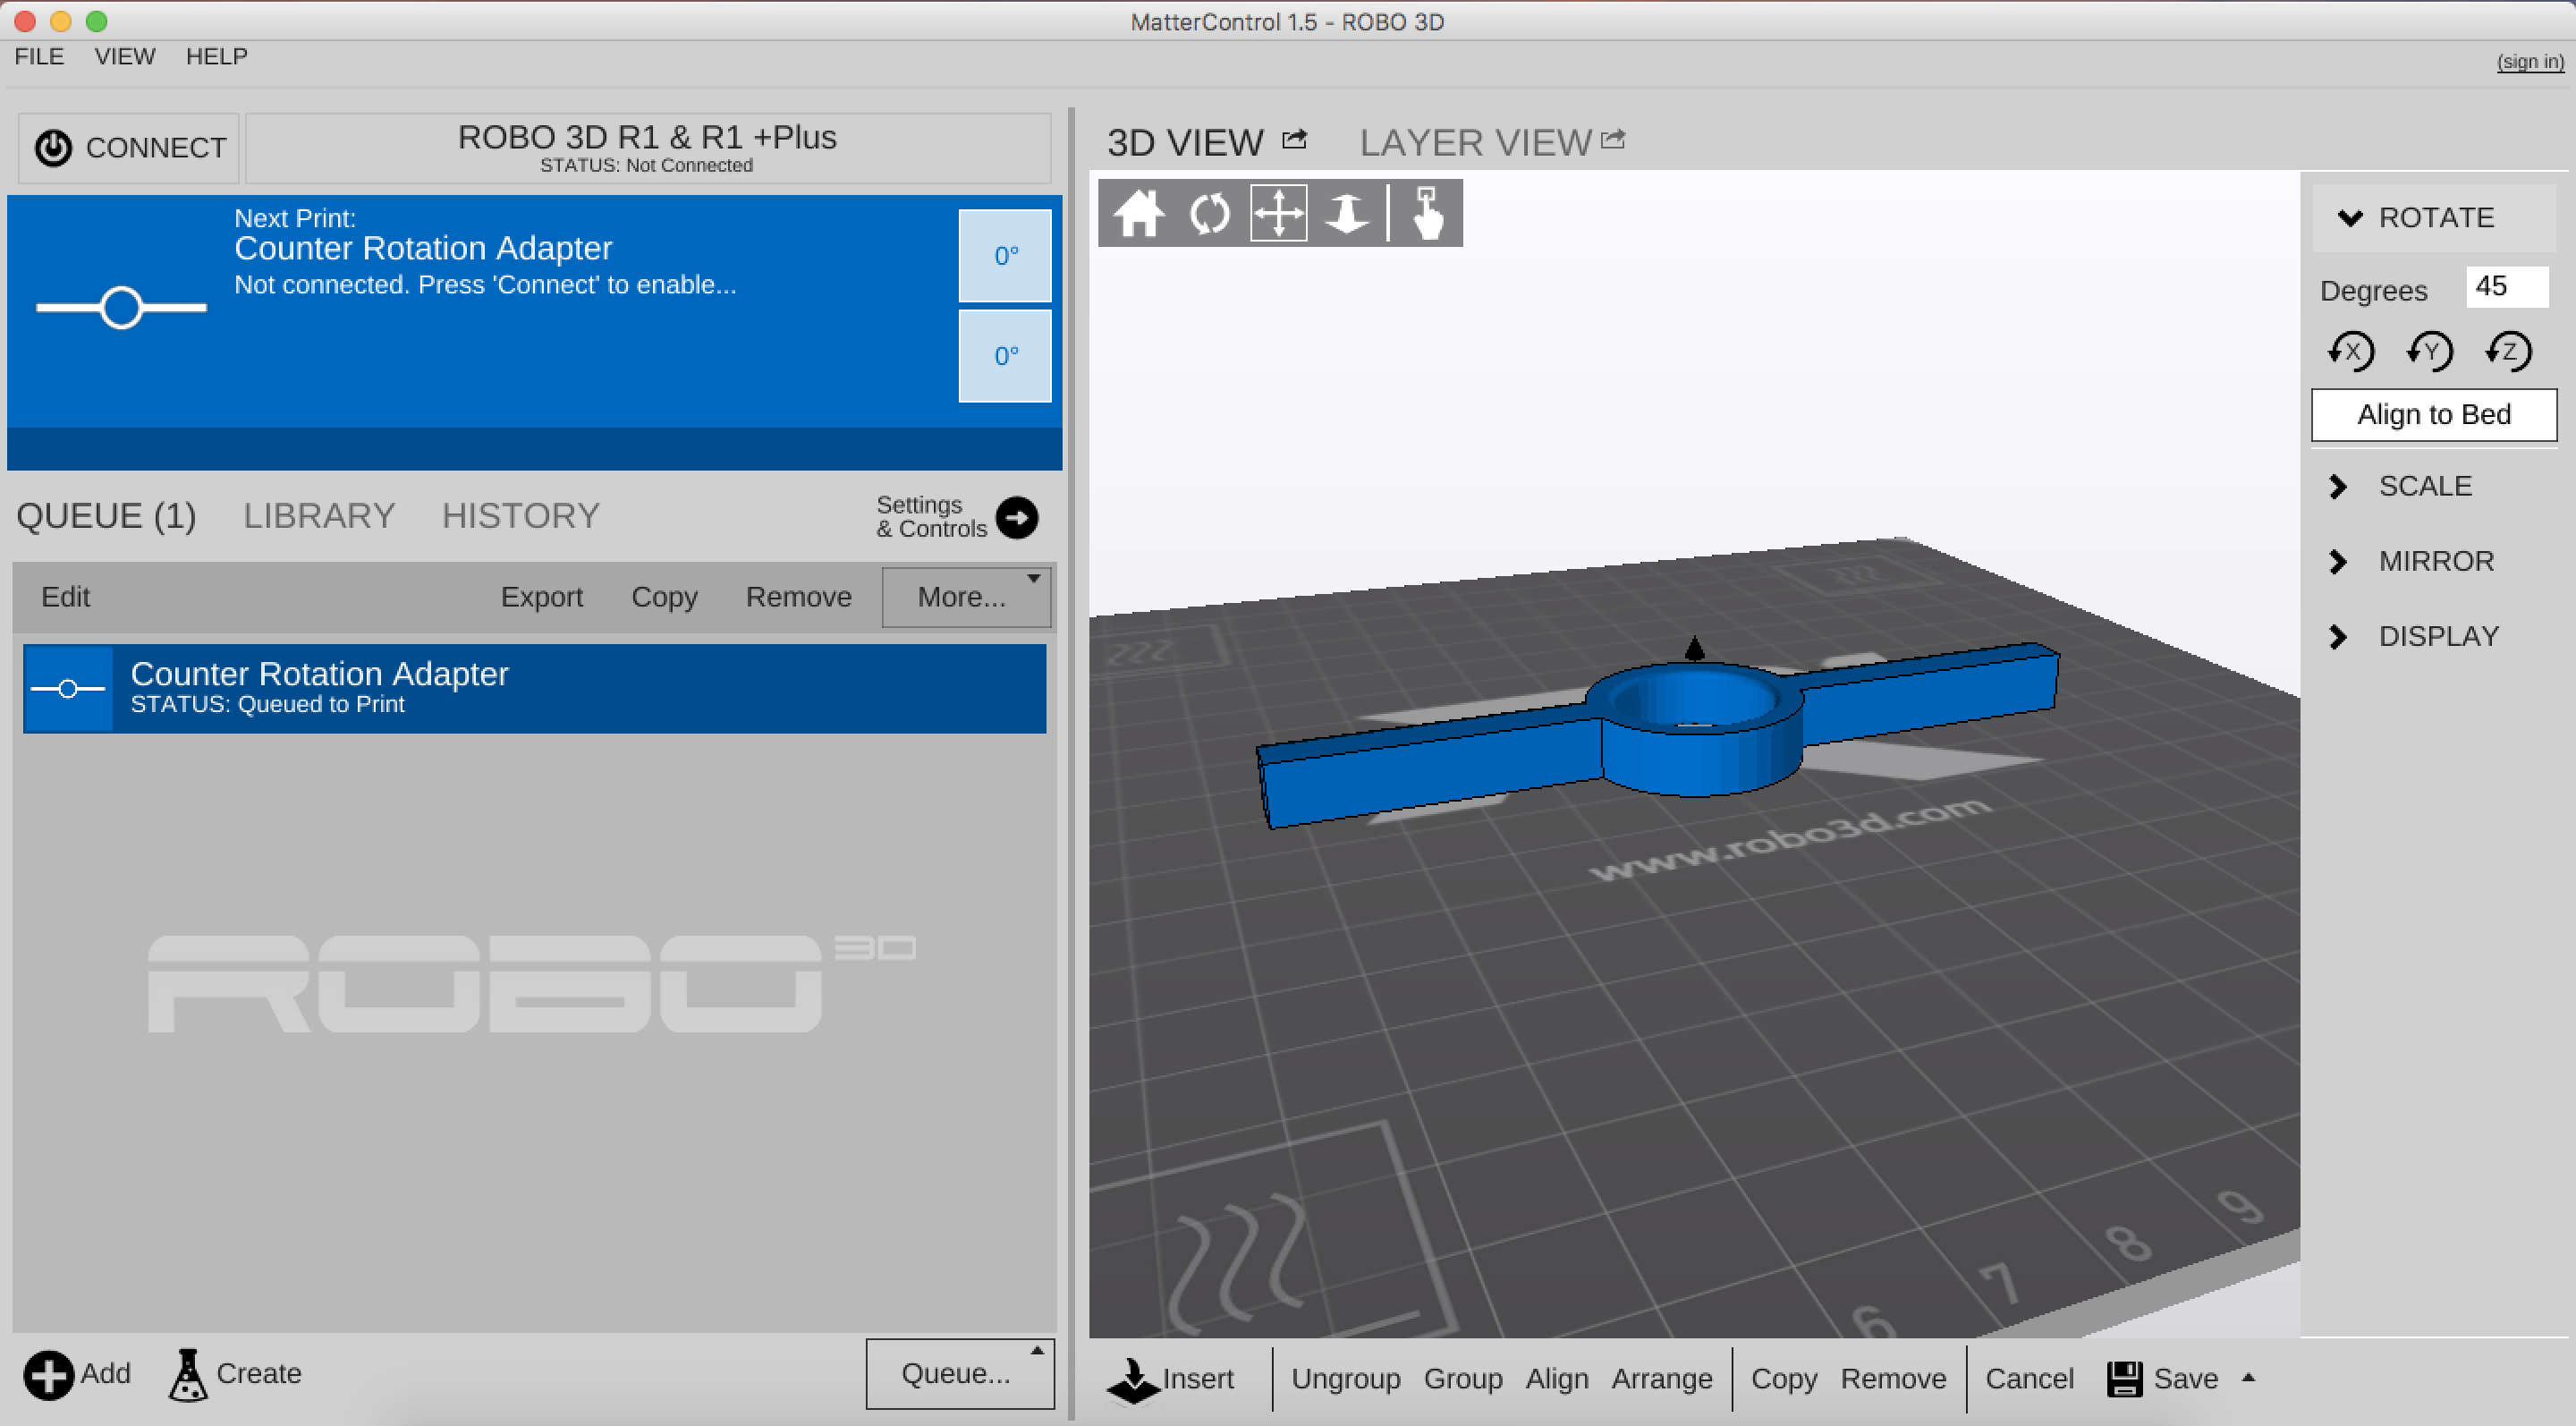
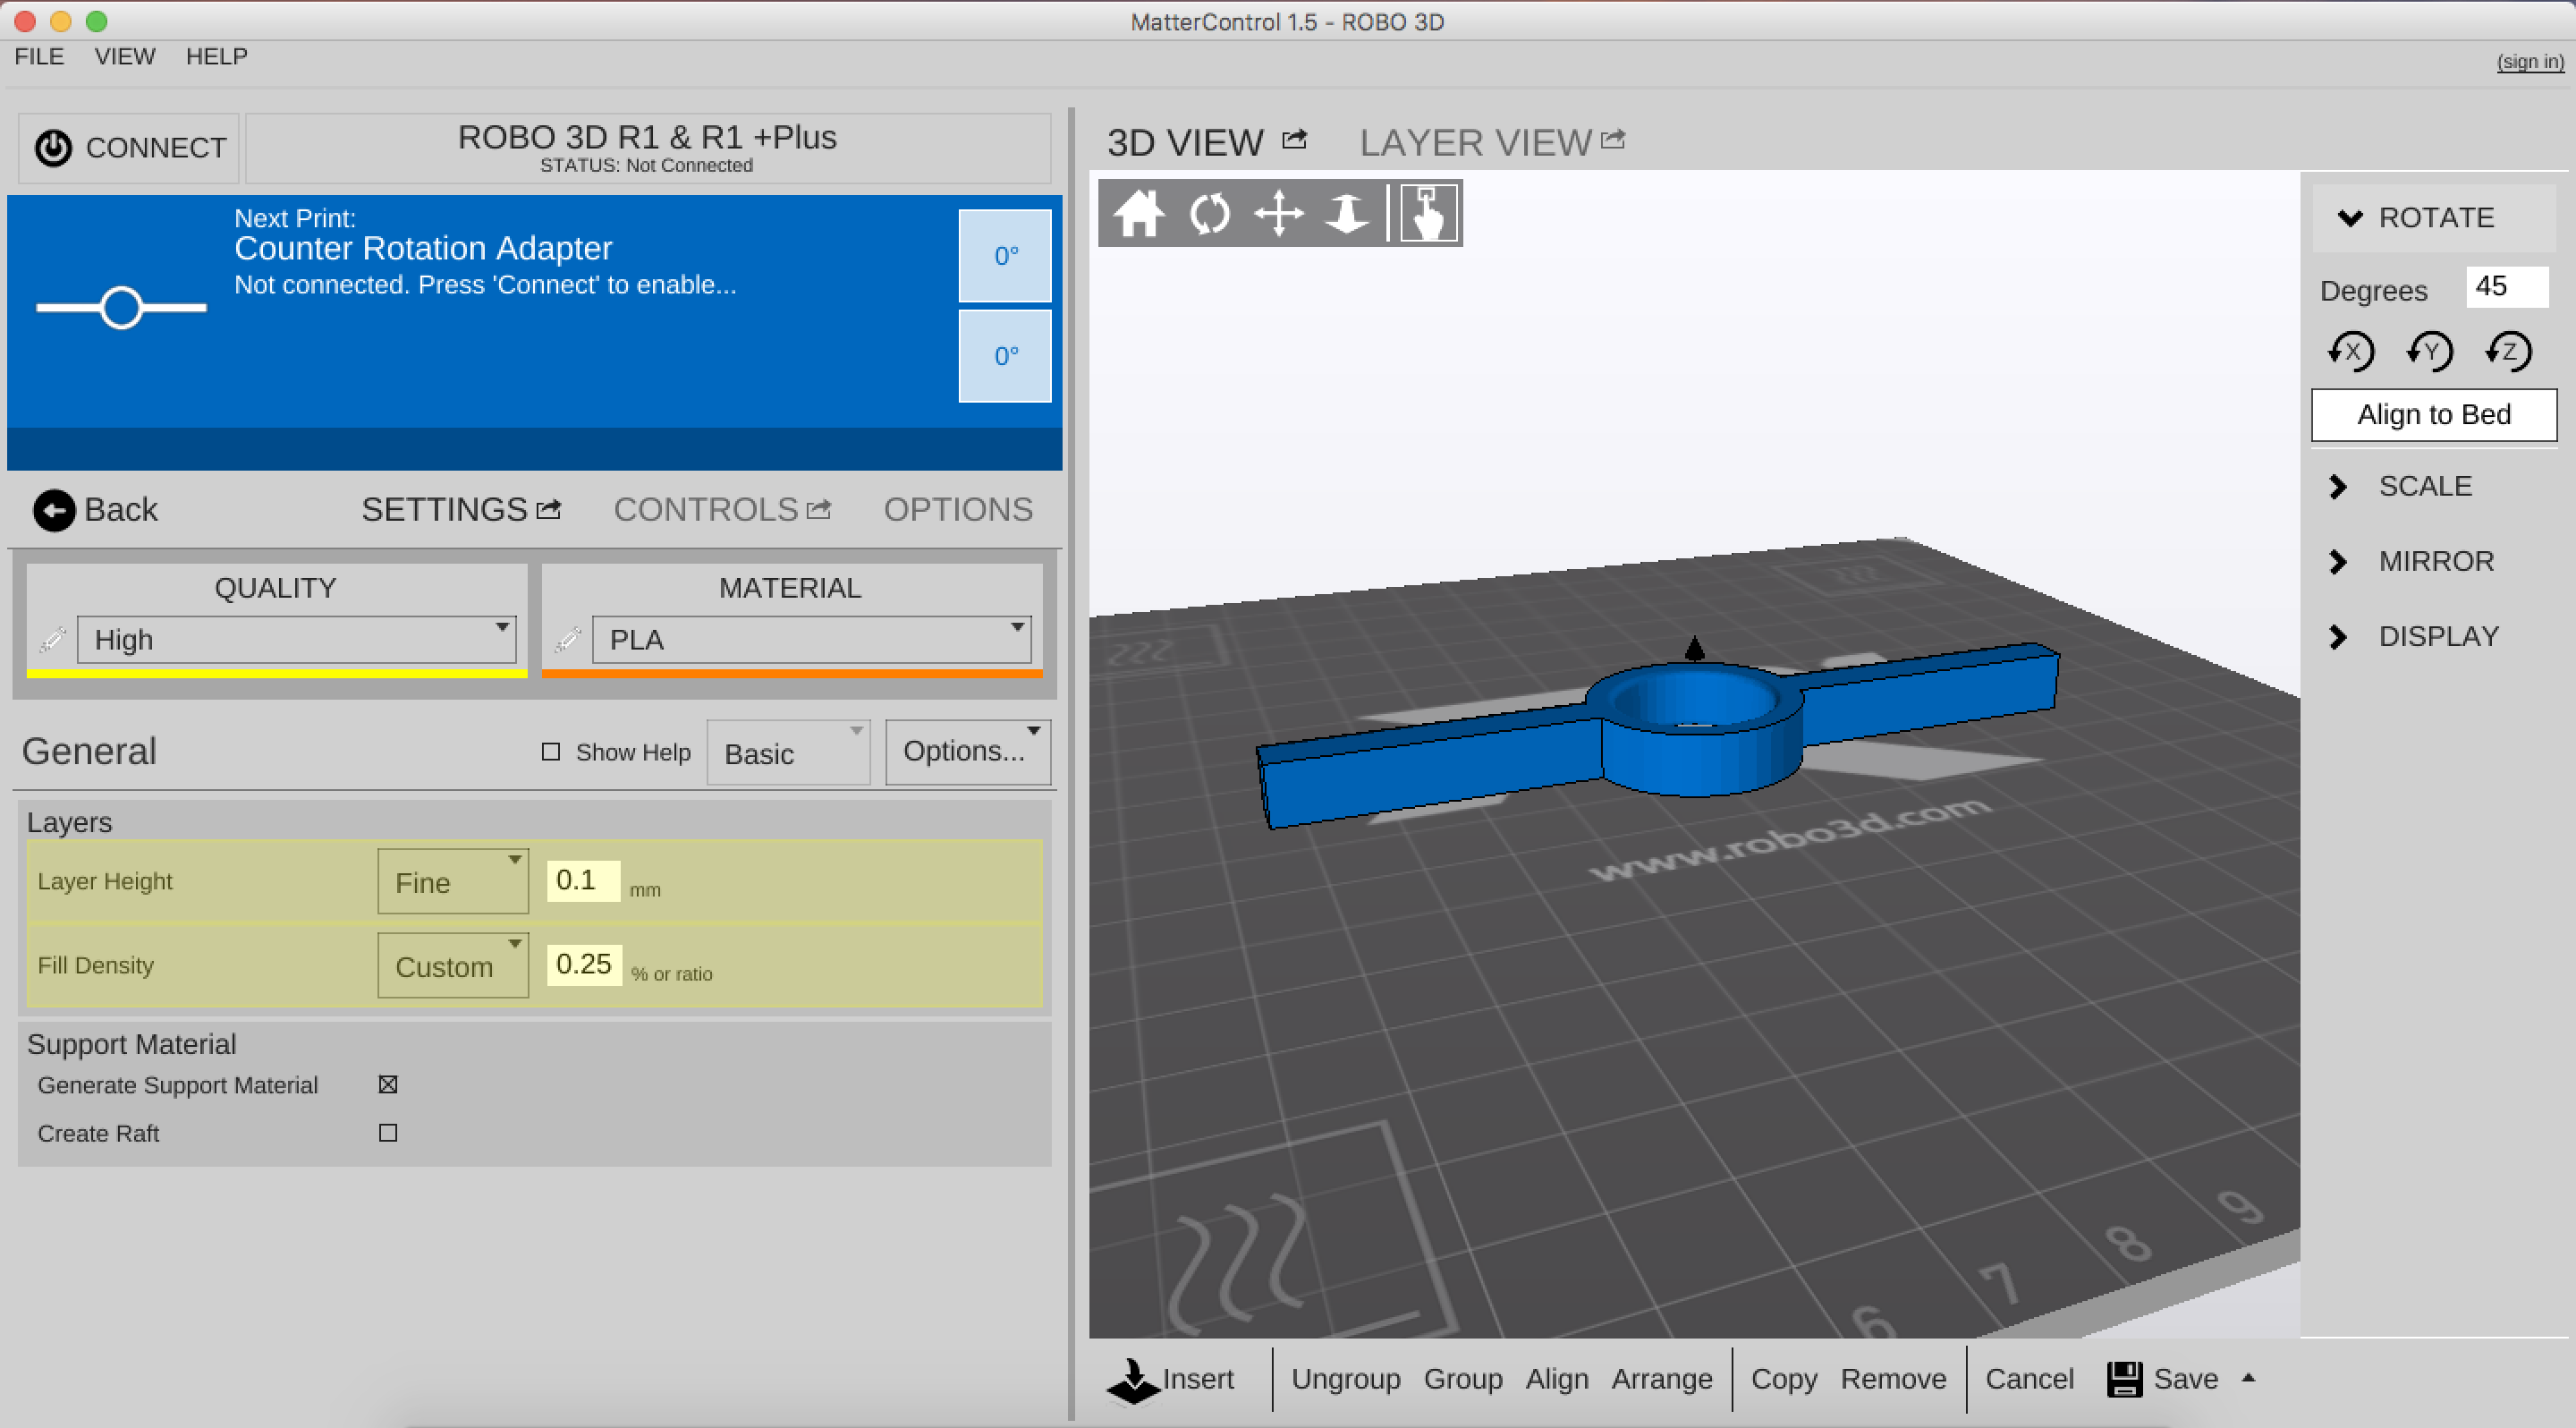
 Step 3: Import the file into the 3D Slicer software.
 Step 4: Modify the Setting if needed.
- Orientation
- Whenever your 3D model has overhangs, the printer will print out support material that allow the printer to print the feature that is overhanging.
- Infill
- Most 3D printed parts don’t have 100% infill. Meaning that they are not just a solid piece of plastic. Inside the outer “shell” are usually hollow structure printed for structural support. Depending on the infill percentage you choose, the density of the structure will increase. For most cases, 20% - 30% infill should be sufficient enough.
- Resolution
- The Resolution option allow you to change the layer height of the printed part. With a higher resolution, the part would have a better dimensional accuracy and surface finish. However, higher resolution would also take a lot more time than lower resolution.
 Step 5: Pre-Heat the extruder and print bed.
Step 6: Print